EN UK

Follow Our Simple Steps for DIY 3D Panel Installation Excellence

Step-wise Installation Proccess

01. Take out Eleviq panels from package

Unwrap the excitement as you carefully take out your Eleviq panels from their packaging. Each panel is meticulously crafted and securely packaged to ensure it reaches you in pristine condition.

02. Measure wall for perfect installation

In the second step, take a moment to measure your wall for the perfect installation of Eleviq panels. Grab a tape measure and assess the dimensions of your wall, ensuring accuracy for a seamless fit.

03. Clean your wall surface from dust

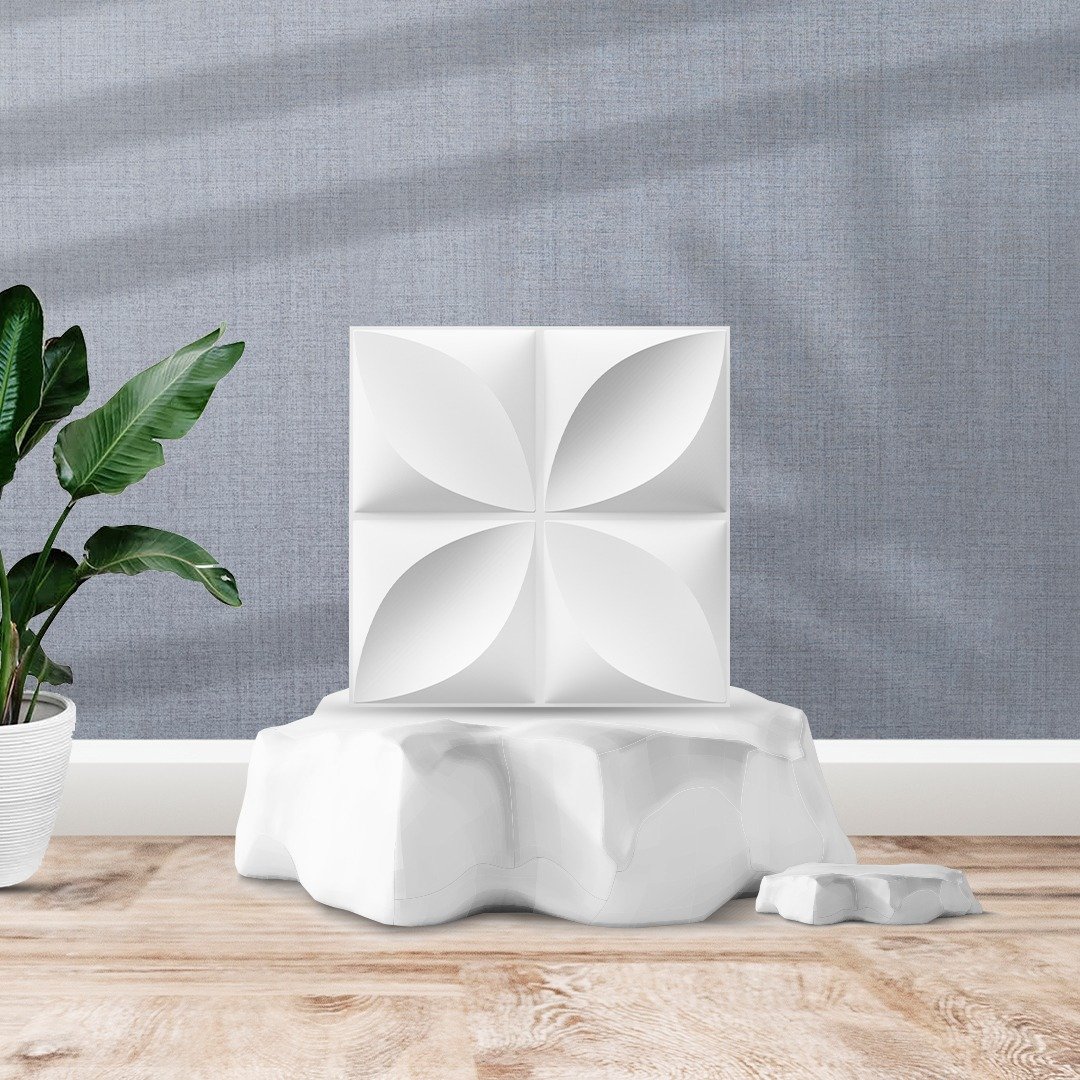
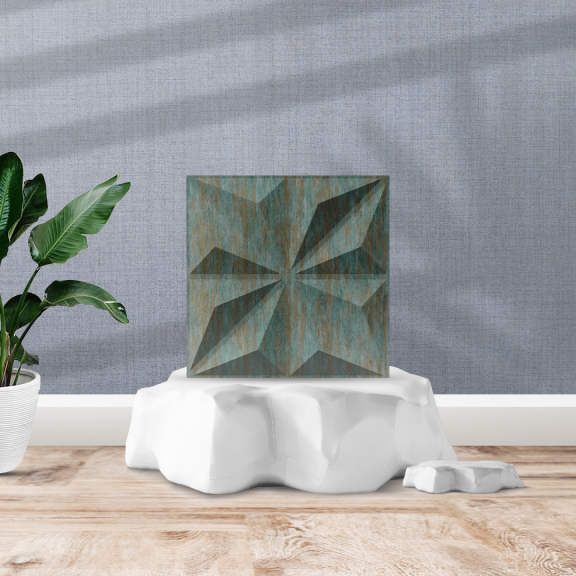
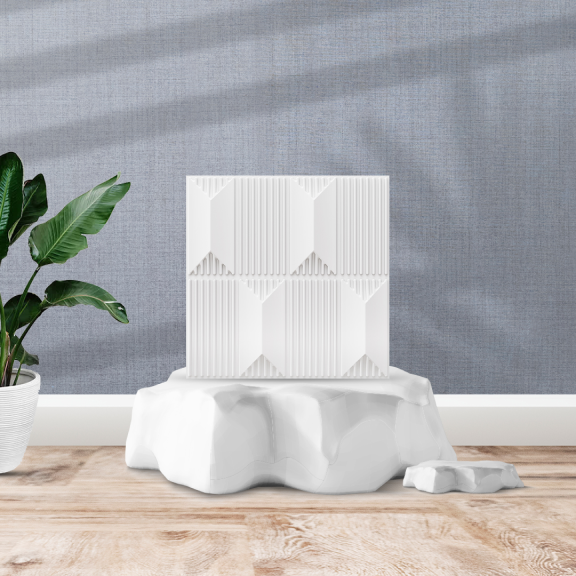
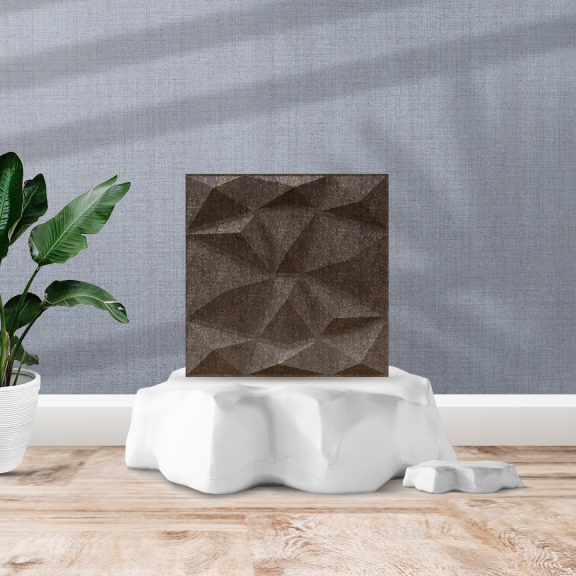
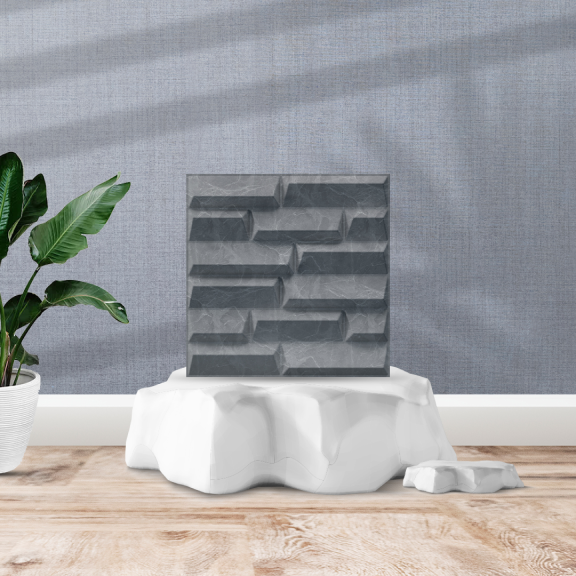
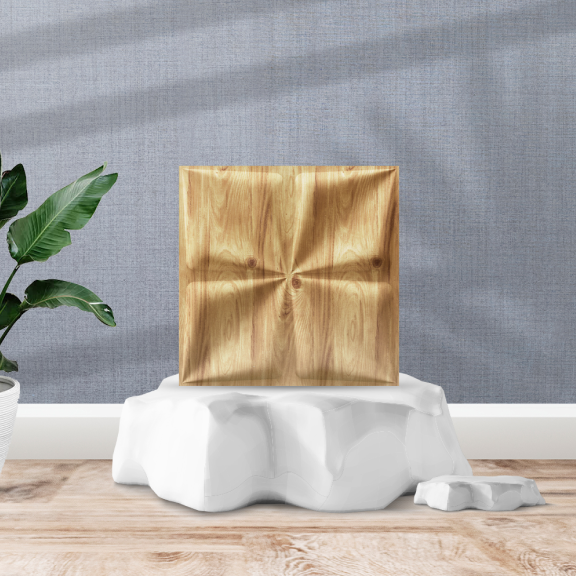
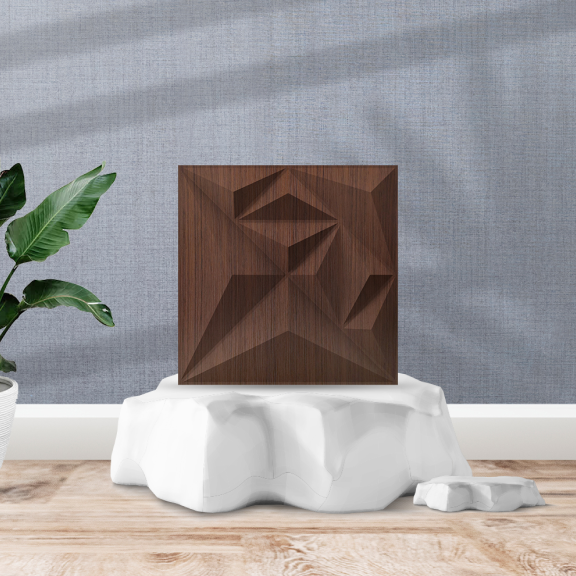
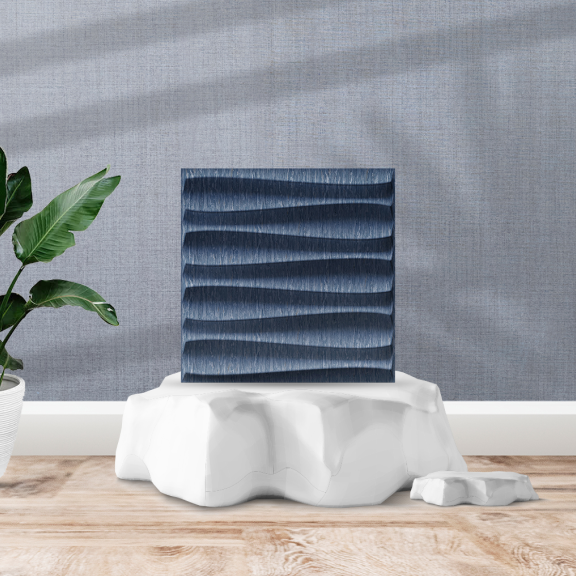
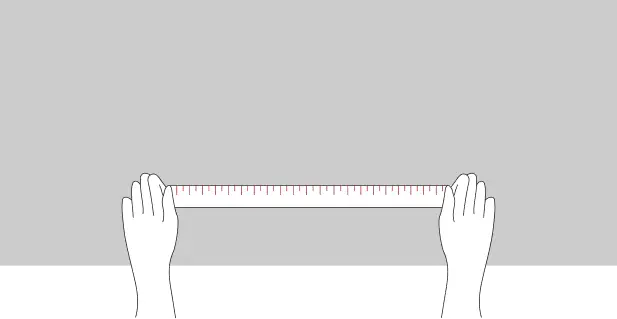
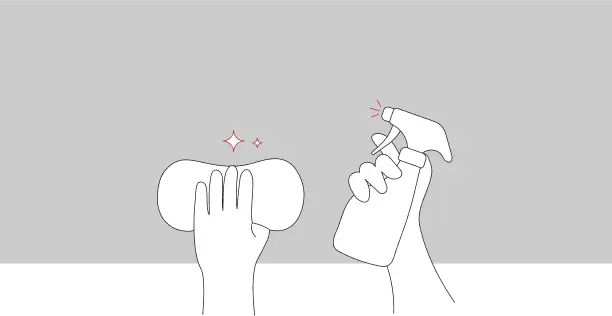
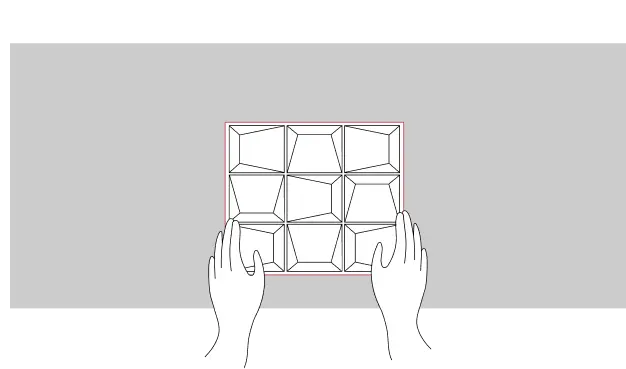
After measuring your wall, ensure a clean, dry surface free from dust or debris. If the wall is painted, lightly sand it for improved adhesion. For new or recently painted walls, allow a minimum 2-week curing period before proceeding with the installation of Eleviq panels.

04. Adhere the panel back with adhesive

After measuring your wall, ensure a clean, dry surface free from dust or debris load strong adhesive into a caulk gun, apply generously to the panel’s corner.

05. Carefully press the panel onto the wall

For Perfect alignment use a leveler for alignment &, and press it firmly along the marked line. Repeat horizontally and vertically, then let the adhesive cure for 24-48 hours.

06. Apply paint on white panel (optional)

Optionally, personalize your panels by applying primer and paint in your chosen color scheme. This step allows you to seamlessly integrate the panels into your desired aesthetic, adding a custom touch to your transformed space.

Congratulations!

Your 3D wall panel installation is completed successfully, Enjoy your newly enhanced space with the stylish and textured wall panels.

Crafting Walls, Crafting Wow

Get in Touch with Eleviq !